
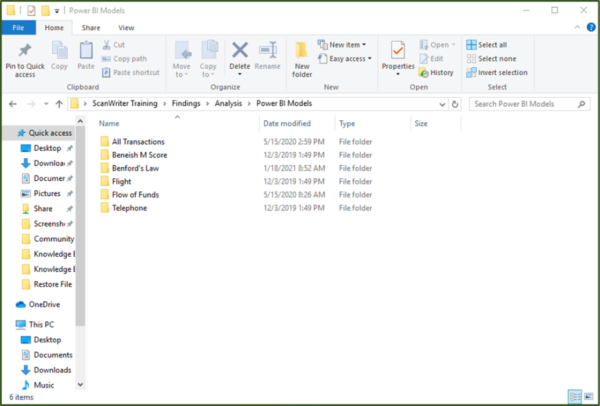
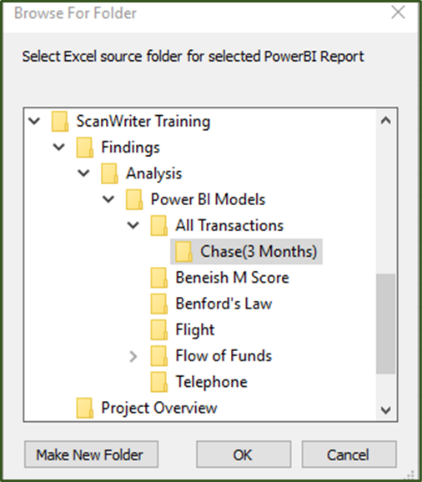
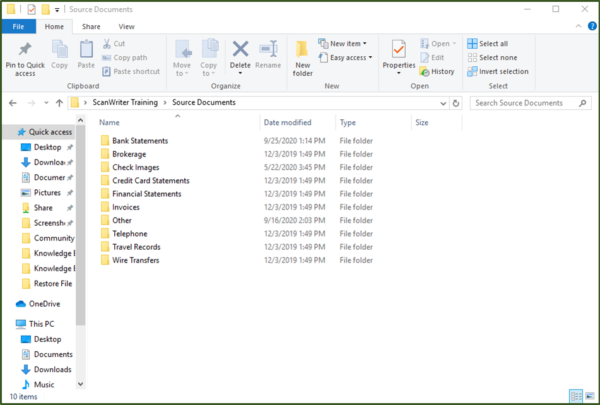
You can simply rename the project folder in Windows, then add the new project in ScanWriter. After selecting the project folder, there will be three subfolders: Findings, Project Overview, and Source Documents. Usually, only one project folder should be created for each case, and we recommend you use the structure to organize your documents. For example, if you are exporting data from Chase into Power BI, and the model selected was “All Transactions”, then first click Export PBI Data or Export and Run PBI. Choose the Excel Source Folder for the Power BI Report: Findings-> Analysis-> Power BI Models -> All Transactions-> Chase (Bank Name). For example, the statement for Chase (3 months) can be put into the following folder. If you choose to not use the structure ScanWriter created, please pay attention to the place SW Entities is saved and make sure PBI data is saved in a clean folder when exporting to Power BI. You must be logged in to post a comment. First, you click Select Project File to choose your project folder. After choosing a folder, ScanWriter will close the Select Project File window and take you back to the home screen. You will now be able to click on Reader Management to select a reader. To view your project folder structure (after selecting the project), click File in the top left of the home screen, then click Show Project Folder and it will open for you. You must be logged in to post a comment. Yes, when you add a new project file to ScanWriter, an automatic folder structure will be created. This will include 1) Findings, 2) Project Overview, and 3) Source Documents. We recommend you use the structure to organize your documents. You must be logged in to post a comment.
Project File (4)


Leave a Reply

Leave a Reply
Leave a Reply
FAQ
Category:
Project File
Category:
Project File
Category:
Project File
Category:
Project File
Leave a Reply
You must be logged in to post a comment.